Sunday, August 21, 2011
Last weekend when my family was visiting for Lila's birthday we took a trip to the Dinosaur Museum at Thanksgiving Point. Every August Mark's work gives him a booklet of free tickets to various places throughout the Salt Lake Valley and The Dinosaur Museum is one of those places. It has become tradition to take a trip down there every August, this year being our third year.
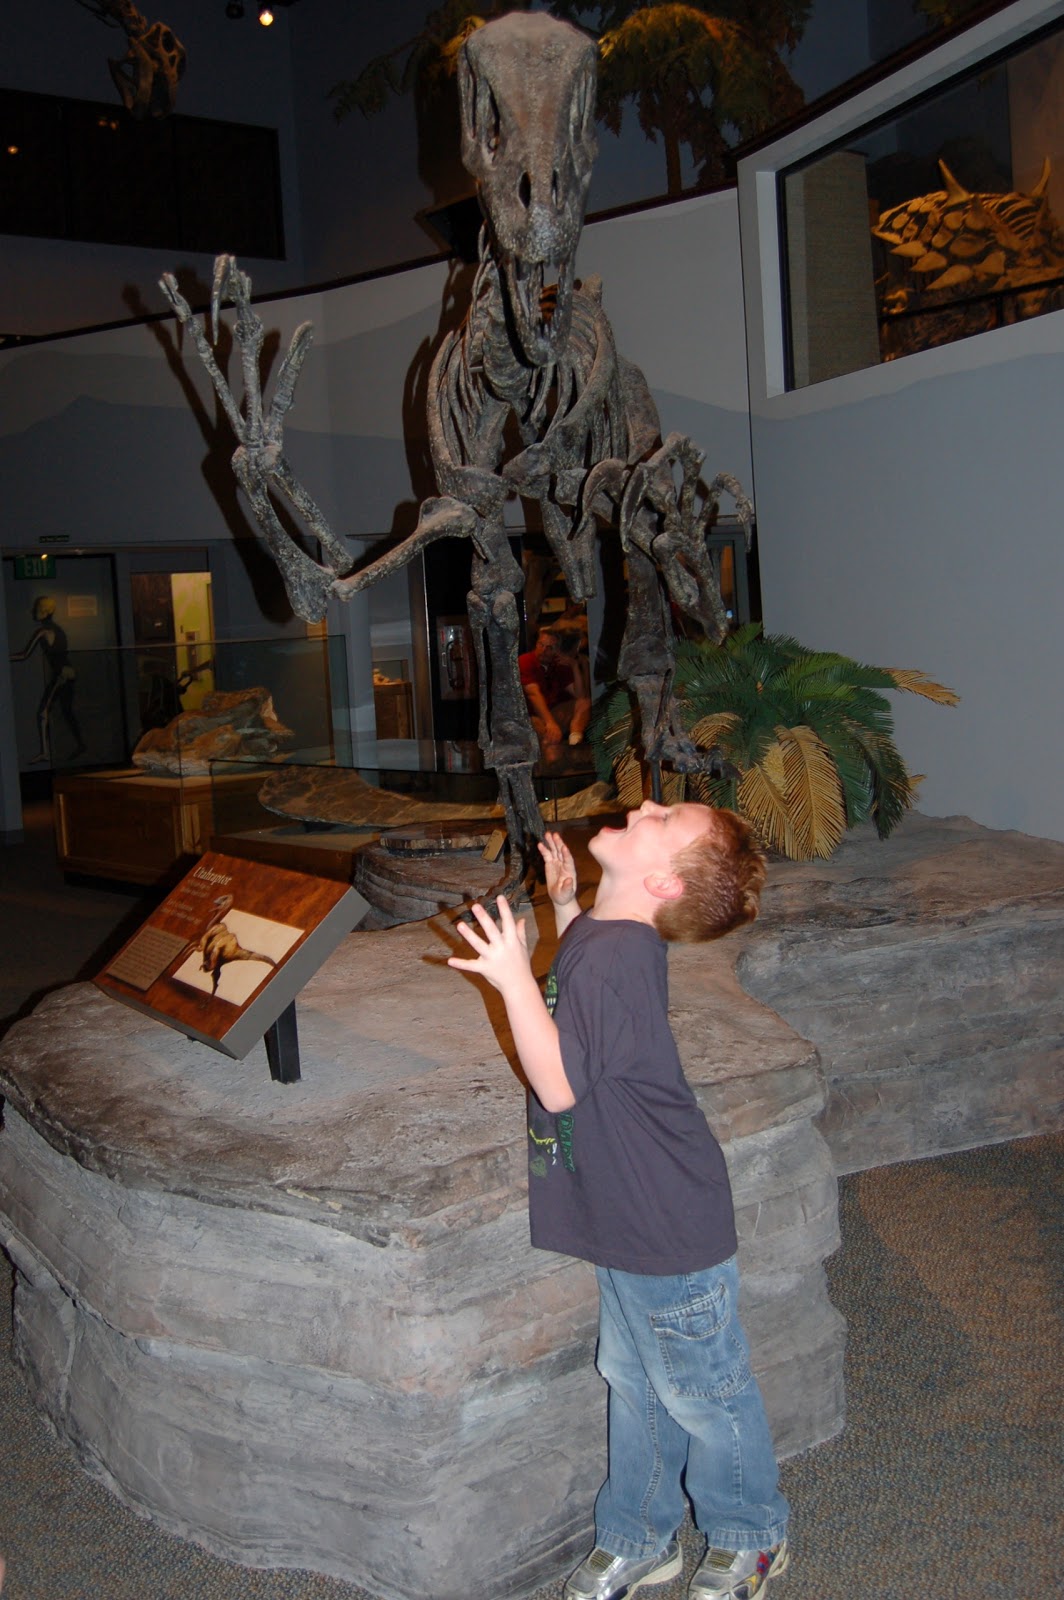
My boys have been enthralled by dinosaurs the last couple years so we always have a great time during our visit. Here is a picture of Andy growling up at the Utah Raptor.
The water exhibit is our favorite where the kids can look through the sand for plastic dinosaurs or build their own dinosaur displays with the sand and dinos. We also always spend lots of time at the end of the museum in the sand room where they use paint brushes to try to uncover dinosaur bones.


My siblings are my best friends so I love every minute I get with them! Here is our group, minus Britney, who so kindly agreed to take this picture of us. I don't know why we didn't ask someone else to take a picture so she was in there. Silly me!

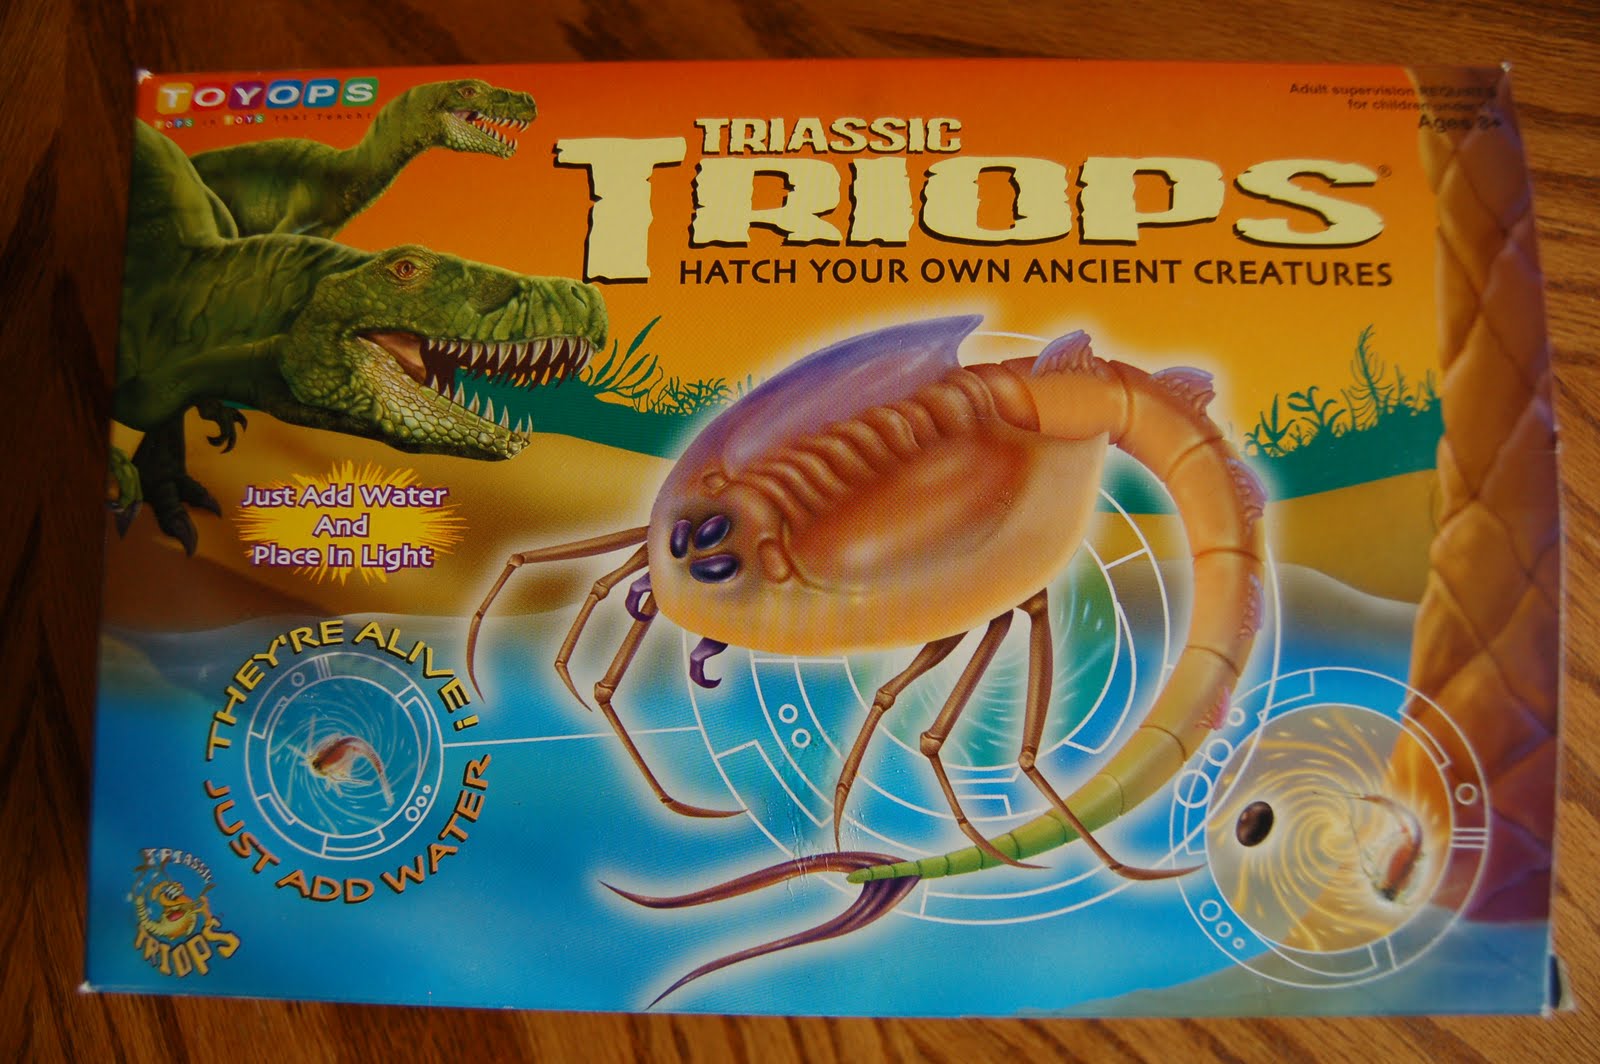
We have also been having lots of prehistoric fun at the home front growing Triops. Have you heard of them? They are relatives to the the ancient Trilobite who was around even before the dinosaurs roamed the Earth. I'm not exactly sure how old the eggs are that they provide you with, but these creatures really do resemble a Trilobite so my kids really feel like they have a prehistoric creature. We picked up this fun activity for about $10.
We started out with 16 eggs in our little dish and even though 3 hatched, only 1 survived. They were so tiny you had to use a magnifying glass to get a decent look at them. This is a picture of our hatched Triop at a couple days old.

Andy has watched him grow day after day and up until about day 21 he pretty much doubled in size every day. Every couple days he still sheds his skin and the kids get pretty amazed by it every time.


Here is a look of the underside of him. I keep wondering if he would bite me if I stuck my finger in there and how bad it would hurt. (Don't worry, I won't try it! LOL!)

Since I have pretty much been his caretaker, it's going to be weird waking up one morning and having the little guy up in Triops heaven. It's been a fun activity for the kids. A MUST DO if you have kids who love prehistoric creatures.
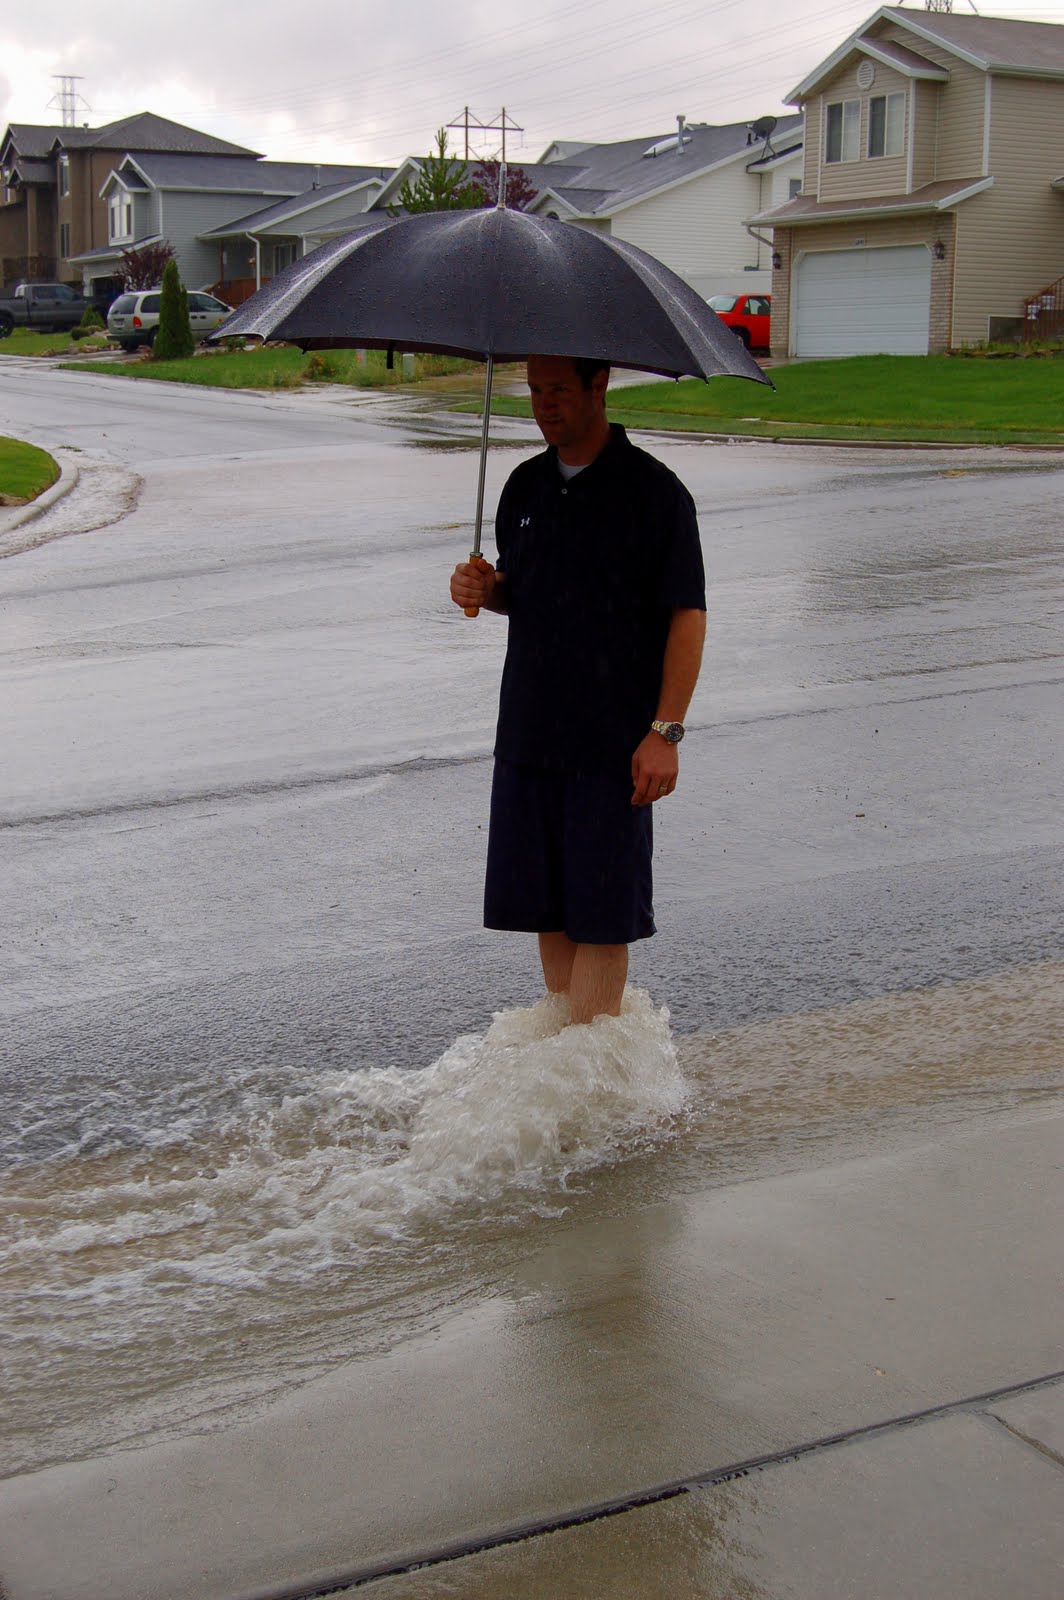
So I was looking through my pictures for this post and saw this picture I forgot to post a couple weeks ago. We had a massive rain storm and within 5 minutes our gutters were overflowing with water. It was a pretty cool site to see. Mark went out to take a look and I caught a picture of of him.
One of my favorite memories this week has been watching Lila play in her little rocking chair. I found it at a garage sale for $5 a month ago and it's been sitting in our living room. At first she wasn't interested in it, but this past week it has been her favorite place to hang out. She loves to climb up in it and try to make it rock, even though her legs don't even touch the ground. I have plans on figuring out how to make a slipcover for it so it will match her room decor.

Sunday, August 21, 2011 0
Friday, August 19, 2011

I saw this fun photo link party yesterday and since I love taking pictures, I decided I want to start taking part in it. Every week there is a theme. This week "Together". I had to use an old photo because I just saw it yesterday, but I can't wait to start going with the theme every week to help with inspiration on getting out my camera.
I took this picture the end of last Winter of my boys. Sometimes they are enemies, but most of the time when they are together, they are Best Friends.

Friday, August 19, 2011 0
Thursday, August 18, 2011
We've continued our ocean-themed reading this week and on our list was another Eric Carle classic "A House for Hermit Crab". My kids LOVE this story! I love the fact that it gives a message that you should treat your friends with love and respect.

If you aren't familiar with the story, a Hermit Crab gets a new shell, thinks it looks pretty boring so he sets out over the next year to decorate it with new friends he finds along the way. After a year he has outgrown his shell but is sad to have to leave his friends behind. Another Hermit Crab comes along in need of a shell and he graciously offers to give him his shell, but only if he promises to take good care of his friends.

A couple weeks ago I saw THIS hermit crab made out of a hand print and a paper plate. I pinned it immediately and knew it was exactly what I was looking for to go along with this story. When we started making our craft we decided we wanted to re-create our favorite scene in the book. Behold, our Eric Carle masterpiece....

It's very possible that some might think I'm over the top. I mean, did I really need to re-create our favorite scene in the book?... Yup! I sure did! And you know what, it was a masterpiece that we ALL DID TOGETHER and we are pretty darn proud of it, so if I'm over the top, then I don't really care. hahaha!
So how did we do it???
1. Cover your child's right hand in red paint and press it onto a piece of white card stock paper. This creates the crab body.

2. When it is completely dry, cut it out like pictured below.

3. For the shell we used one of those small paper plates. I didn't have any on hand so ended up buying a package at Wal-Mart for $1.88. I'm sure we'll use them for other crafts so I didn't mind. Turn the paper right side up (the side you eat on) and on the left edge draw a squiggly line for the opening of the crabs shell. Cut it out, then turn it over.

4. Put some glue on the end of the hand print and attach it to the opening you just cut out on the paper plate. Then, using a black marker, draw the outline of the shell on the paper plate.

5. We wanted our hermit crab to be reminiscent of what was in the story, so we used water color paints to add some colors to his shell.

6. For the eyes we hot glued 2 pieces of pipe cleaners with wiggly eyes on the ends. Here is your completed crab. Isn't he cute?? You could stop here if you want, but since I am an "over the top" kind of person (LOL!) we kept going.

7. Create all the little creatures that Hermit Crab had on his shell. I just winged this so I'm including close up pictures of the creatures so you can see them in more detail.


8. After we created all the creatures, we glued them onto the Hermit Crab.

Again, you can totally stop now....But I figured since we got this far we mine as well create the WHOLE scene.
 +
+9. By this time, Andy was home from school and he wanted to help out with the project, so I had him take a blue crayon and make the squiggly blue water lines on a piece of white card stock paper, just like in the story. Then he put some glue on the bottom of the paper and sprinkled sand on the bottom.

10. Glue your Hermit Crab onto your created scene.
11. Next, cut out some rocks out of gray/silverish paper and glue then onto your paper around your crab.
12. Lastly, I cut out a sea urchin using a scrap piece of cardboard paper I had and Andy used marker to add some brown and black to him. Attach him to your paper and your masterpiece is complete.

A kind reader left me a comment telling me about a template that would help teachers with the decorations on the hermit crab. You can find them at Scholastic by clicking HERE.
Happy Crafting!!
Linking up to THESE great parties!
Thursday, August 18, 2011 0
