Tuesday, August 16, 2011
Story Time "Mister Seahorse" with seahorse craft and shoe tying practice
Do you like this story?
EX3MTTDSRECM (Kindly ignore this odd code! I am in the process of getting verified through Technorati and need to have this code at the top of my post until they've verified me. My sincere apologies. haha!)
Have you ever had your child respond in an unexpected way to a story?? I am normally a huge fan of Eric Carle but I ended up having some mixed feelings about this book. It is a great story displaying how the father seahorse carries the mother's eggs around in his pouch before they hatch. I know you are thinking "How could you not love this story???" It is award-winning, after all...

I actually like the story, but my 4 year old not so much. On the last page the baby seahorse's come out of the pouch and one of them tries to come back and get into the pouch. The Father says "Oh, no! I do love you, but now you are ready to be on your own." After closing the book Luke got so emotional about the Father telling the baby he couldn't stay with him, that he seriously started crying. My heart just ached! He just could not understand why a Daddy would do that to his baby. We had a lengthy conversation about it, and I reassured him that me and Daddy wouldn't make him go off on his own like in the story, but he just took it really personal. Has this ever happened to you?
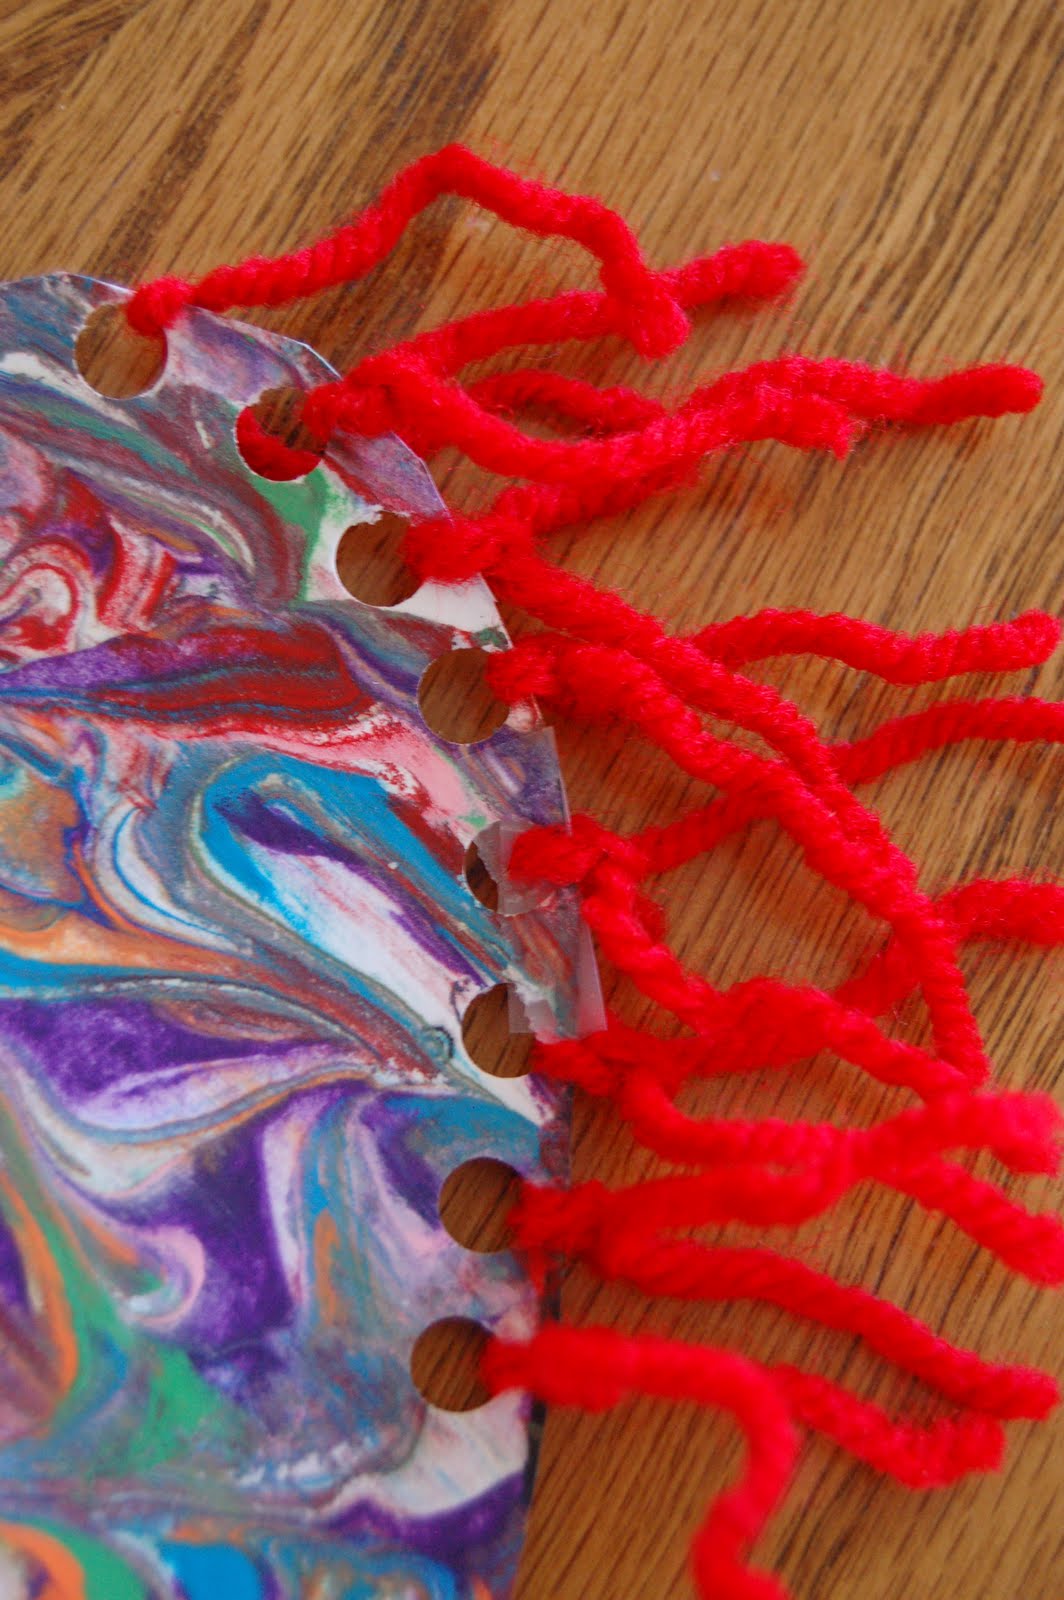
Anyways, I saw this fabulous idea at Making Learning Fun for this craft, and I loved the idea of practicing tying knots when adding yarn for the hair. Since I really want Luke to be able to tie his shoes before Kindergarten starts, I thought this was a perfect place to start. Here is how Luke's seahorse turned out. I told him we were making a baby seahorse since he had a grudge against the Daddy. hahaha!

Isn't the marbled paint effect stunning?! This very well may be something everyone knew about, but not me, so when I saw this painting technique at Little Wonders Day, I fell in love and knew we HAD to try it.
Materials you will need:
-Seahorse pattern HERE
-scissors
-shaving cream
-acrylic paint (variety of colors)
-container for mixing the shaving cream and paint (must be large enough to press the sea horse into)
-squeegee
-hole punch
-yarn
Directions:
1. Start by printing off the free seahorse pattern HERE on card stock paper and have your child cut it out.

2. Squirt some shaving cream into your container, enough to fill the bottom of your container. I used a spoon to flatten it down. Then simply add some lines of acrylic paint on top of the shaving cream and then use a toothpick or end of spoon to swirl the colors around. This is what mine looked like after swirling. I didn't take tons of pictures of the process so you can also read the tutorial HERE if you are confused.

3. Press your seahorse down into the paint, making sure every part is touching. After leaving it there for a several seconds, lift it out carefully. This is what Luke's seahorse looked like after taking it out of the paint.

4. Let it dry for a couple minutes (I waited 10 min) and then squeegee the excess shaving cream and paint off of the seahorse. When you are done, it amazingly looks like this:

5. Let it dry completely. I used a black marker to draw the fin back on it. I couldn't see the lines anymore through the paint, so I just had to wing it. :)
6. Use your hole punch to punch holes around the seahorse's head to add his hair. The pattern has pre-made places to punch the holes but you might not be able to see them after painting, so I just put the holes wherever I wanted. Cut some pieces of yarn for your child to pull through the holes and tie a knot. If the yarn pieces are uneven you can trim them to make them even after your child is finished tying the knots.
Luke had no clue how to tie a knot so I had to show him how to do it twice, then help him with a couple more before he gave a shot at doing it all by himself. In no way did Luke become an expert after doing this project, but it gave him a beginning understanding of the concept to keep working on it.
7. After his hair was attached Luke glued on a wiggly eye to complete his seahorse.
Another beautiful creation to be proud of! We will definitely be using this painting technique more often.
Happy Crafting!!


This post was written by: Franklin Manuel
Franklin Manuel is a professional blogger, web designer and front end web developer. Follow him on Twitter
Subscribe to:
Post Comments (Atom)

0 Responses to “Story Time "Mister Seahorse" with seahorse craft and shoe tying practice”
Post a Comment