Saturday, December 31, 2011
Man, this year flew by didn't it? It's been so fun for me to look back on the year and pick out my 5 favorite crafts we've completed.

I saw this beautiful sunflower on Meet the Dubians and we set out to make our own take of it. I love so much how the flower pops out of the page with the petals lifted off the page and the beads glued in the center. We used a fork to paint on the details of the grass.


If you could take the Moon for a walk, where would you go? I love when my children are free to use their imagination. I especially love seeing how my boys depicted their scenes of where they would take the Moon. This was such a fun book to read and I definitely recommend it.


If I had to pick a favorite story we read this year, it would be "The Giant Jam Sandwich". If you haven't read it, YOU MUST! A city overtaken by wasps must find a way to rid themselves of the pests and decide to make a huge jam sandwich to trap them. We made our own jam sandwiches and the boys chose what creatures they wanted to trap in them.

And then SNAP, the boys had fun trapping all their creatures in the sandwich. This is a craft that needs repeating yearly, it is that fun!


Oh how I LOVE these solar systems we created! They are my most favorite piece of art created all year long. They still hang proudly on my boys' magnet boards and both my boys have told me this was their favorite craft all year. I love the bright colors and the galaxy look created by spraying white paint on the black background. Such a fun craft to go along with a space-themed week.

Saturday, December 31, 2011 0
Friday, December 30, 2011
If you haven't noticed, we have been taking a break from crafts at our house this past week while enjoying family, discovering all the new toys and me attempting to get my house back in a semi-decent order. Ha! So in lieu of a new craft today, I thought it would be fun to review the most viewed posts from this year. I've got to tell you though, I'm quite surprised at which posts have been most viewed because honestly, not even half of them were any of my favorites of the year. So tomorrow I'm going to review our favorites that didn't make the cut.
Each picture is linked to the original post and each post includes books we read to go along with the craft or activity.


Friday, December 30, 2011 0
Wednesday, December 28, 2011

There are no rules to this blog hop. Just link up your blog's main page. Then have fun reading new blogs and making new blog friends. We would love for you to follow the hostesses in the first four spots and our guest host in the fifth spot. We always follow back!!

Wednesday, December 28, 2011 0
If I'm being completely honest I have to tell you how disorganized I have felt with my blog lately. Crafting with my kids is one of my most favorite things to do, but getting everything done that I want to in a weeks time and making sure I have all the correct supplies and books to read can sometimes be overwhelming. That's why I was so excited when The Organized Parent sent me a FranklinCovey Wire-bound Weekly Planner.
Instead of feeling disorganized for the upcoming month, I already have all our activities planned out. Here is a look at my January monthly calendar.


- Leave a comment on this post.
- Follow I Heart Crafty Things via Google Friend Connect.
- Like The Organized Parent on Facebook.
- Follow I Heart Crafty Things on Facebook.
Giveaway will close Tuesday, January 3, 2011 at 10:00 am MST!
***The Organized Parent provided me with a FranklinCovey Planner free of charge in exchange for reviewing their product, but all opinions are my own.
Wednesday, December 21, 2011
Hosted by Happy Go Lucky, I Heart Crafty Things,
Joy in the Jumble and Keeping Up With Kristi.
Each week we will choose one blog at random to spotlight at the next week's blog hop.
This weeks guest host is Criss-Cross Applesauce
There are no rules to this blog hop. Just link up your blog's main page. Then have fun reading new blogs and making new blog friends. We would love for you to follow the hostesses in the first four spots and our guest host in the fifth spot. We always follow back!!
Wednesday, December 21, 2011 0
Tuesday, December 20, 2011

I have been so excited to make this elf craft with my kids. Especially after we made our annual trip to Gardner Village for the Elf Scavenger Hunt. They have elf displays throughout the entire Village and after you find all of them you can take your completed paper into the Candy Shop for a free peppermint stick. This year we invited some friends to go with us. Here they are in front of the elf selling Christmas trees.

And again in front of the photo studio with an elf waiting to take their picture.

If you live in Utah, DEFINITELY check it out! You can't beat a FUN and completely FREE activity!
We also enjoyed reading some Elf stories. First up, An Elf for Christmas by Michael Garland.
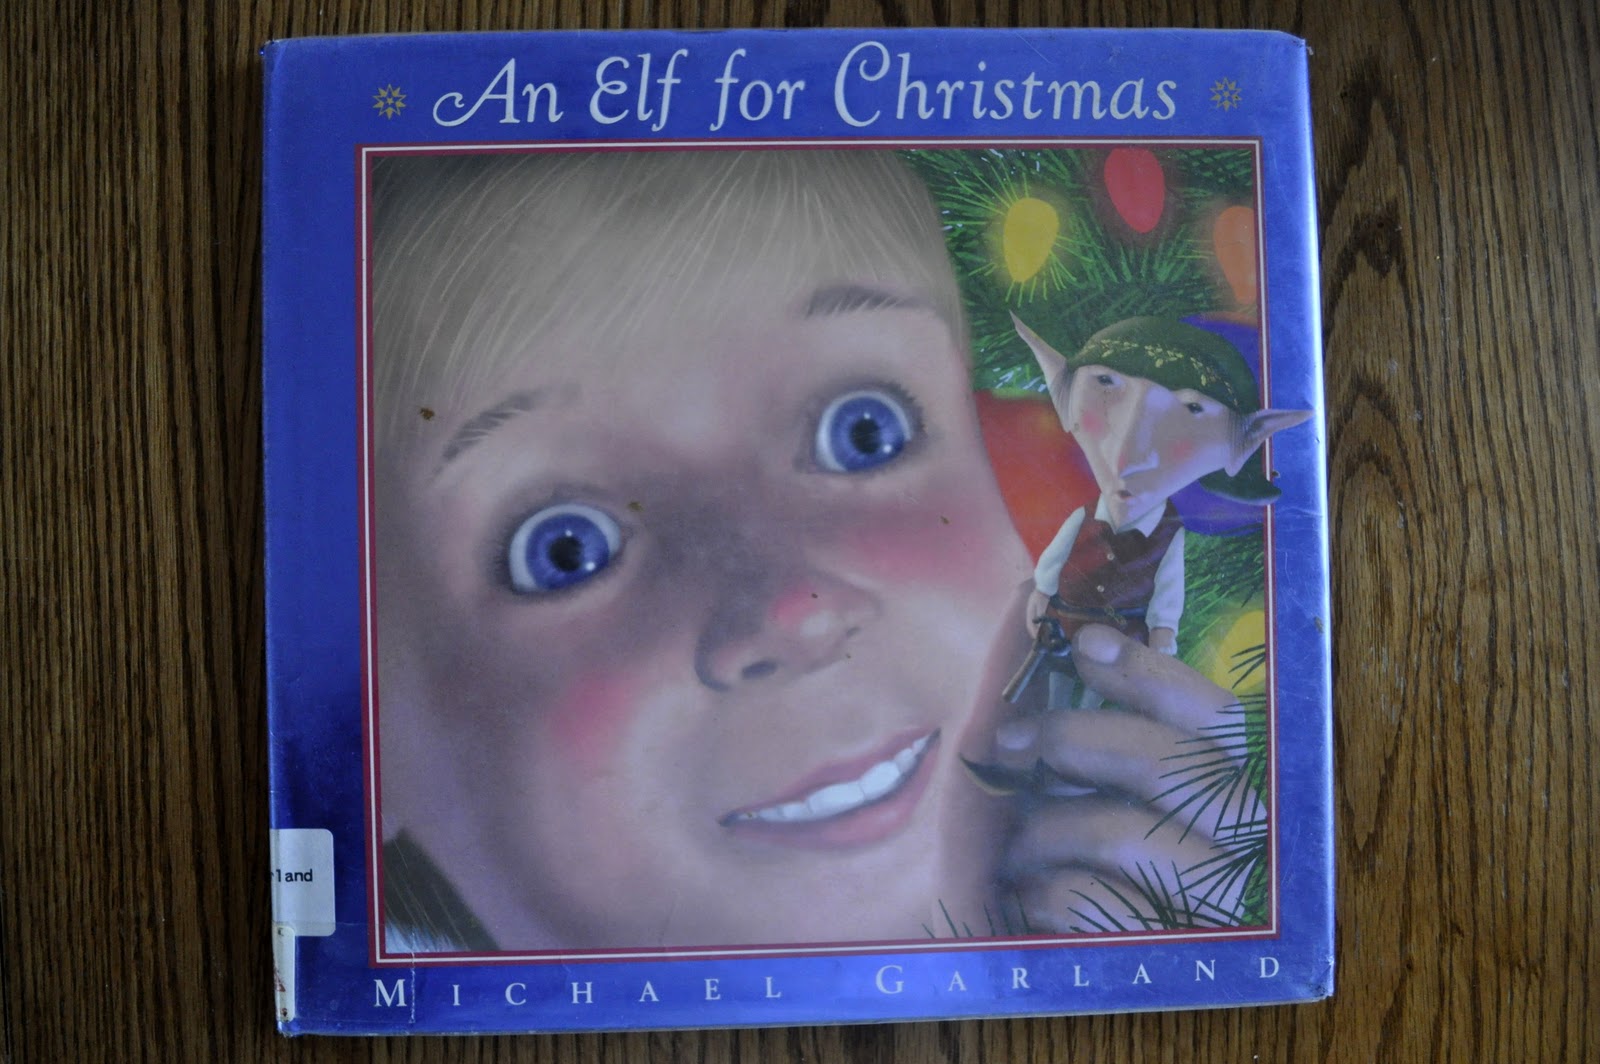
It's about an Elf who has worked so hard on finishing up making toy airplanes on Christmas Eve that he accidentally falls asleep in one of the planes and gets wrapped up and sent out for Christmas. When he wakes up he is surprised to find that he is now a little boys new toy for Christmas. He ends up using the toy airplane to get home and sends the little boy a replacement. It's a little lengthy so more appropriate for age 4-7, but it's a good read.
We also read Elton the Elf by Lisa Mullen. The story is about an elf named Elton who is lost. He ends up wandering through every holiday until he gets back to Christmas and finds his home. It's super fun for the kids to remember the holidays throughout the year in the correct order.

And then we got to making our fun elves!

To make our elf, we used a white lunch sack as his body. You can buy a package of them for under $2 at Walmart. We painted the front of the lunch sack with a red brick pattern.

I simply cut up a rectangle piece of a large sponge and attached it to a clothespin to paint with. You can see one of my boys pictured above dabbing on his pattern.

This is what it looked like all painted.


Since I didn't want the face to be red, I used it as a template to trace it onto a tan/peachy colored paper and cut it out again. After you cut out your template pieces, you will also need to cut out a couple more pieces: two 1" x 6" white pieces for the arms, two 1" x 11.5" white pieces for the legs (I just used the entire length of a sheet of construction paper), one 1/2" x 6" black piece for the belt, and a 1/2" x 1" yellow piece for the belt buckle. You can see all my pieces pictured below.

Assemble the pieces together by gluing the feet onto the long white pieces, the mittens onto the smaller white pieces, the yellow belt buckle onto the black belt, and the hat onto the head. Make sure you tilt the hat on the head a little so one of the pointed ears is still visible. At this point the boys also drew their elf face on their head and added some hair with markers.

Next glue all the pieces on to your elf body. The feet go on the bottom of the sack, the arms on the inside flap of the bag and the belt on the front. You can see in the picture below how I added a bow tie for my belt buckle since I was making a girl. I don't think it's necessary but I thought it was a fun little detail. I also reinforced by arms and legs with a piece of tape just to make them extra sturdy since I know what my boys are capable of. (hahaha!)

Once the pieces were glued on the bag (minus the head) we opened up the bag and stuffed it with a plastic grocery sack to make it nice and plump.
Before gluing the head onto the paper bag, fold down the top edges of the bag forming a triangle and staple it shut. Then just glue your head on the front of the white sack.

We added a couple more details to our elves after the head was glued on. We glued a small ball of cotton to the end of the hat. We also added lines in the hat and outlined them in red glitter glue.

You can also use red glitter glue to add some interest to the feet and mittens...


Or add more cotton to the feet...

I just love these little guys! They are sitting up on a shelf with their legs hanging down and I just feel so giddy when I walk by and see their legs dangling. So much fun I tell ya!! :)

Happy Crafting!!
I like to link my posts up to THESE fun link parties.
Tuesday, December 20, 2011 0
