Tuesday, December 20, 2011
The Cutest Elf Craft you ever did see....
Do you like this story?

I have been so excited to make this elf craft with my kids. Especially after we made our annual trip to Gardner Village for the Elf Scavenger Hunt. They have elf displays throughout the entire Village and after you find all of them you can take your completed paper into the Candy Shop for a free peppermint stick. This year we invited some friends to go with us. Here they are in front of the elf selling Christmas trees.

And again in front of the photo studio with an elf waiting to take their picture.

If you live in Utah, DEFINITELY check it out! You can't beat a FUN and completely FREE activity!
We also enjoyed reading some Elf stories. First up, An Elf for Christmas by Michael Garland.
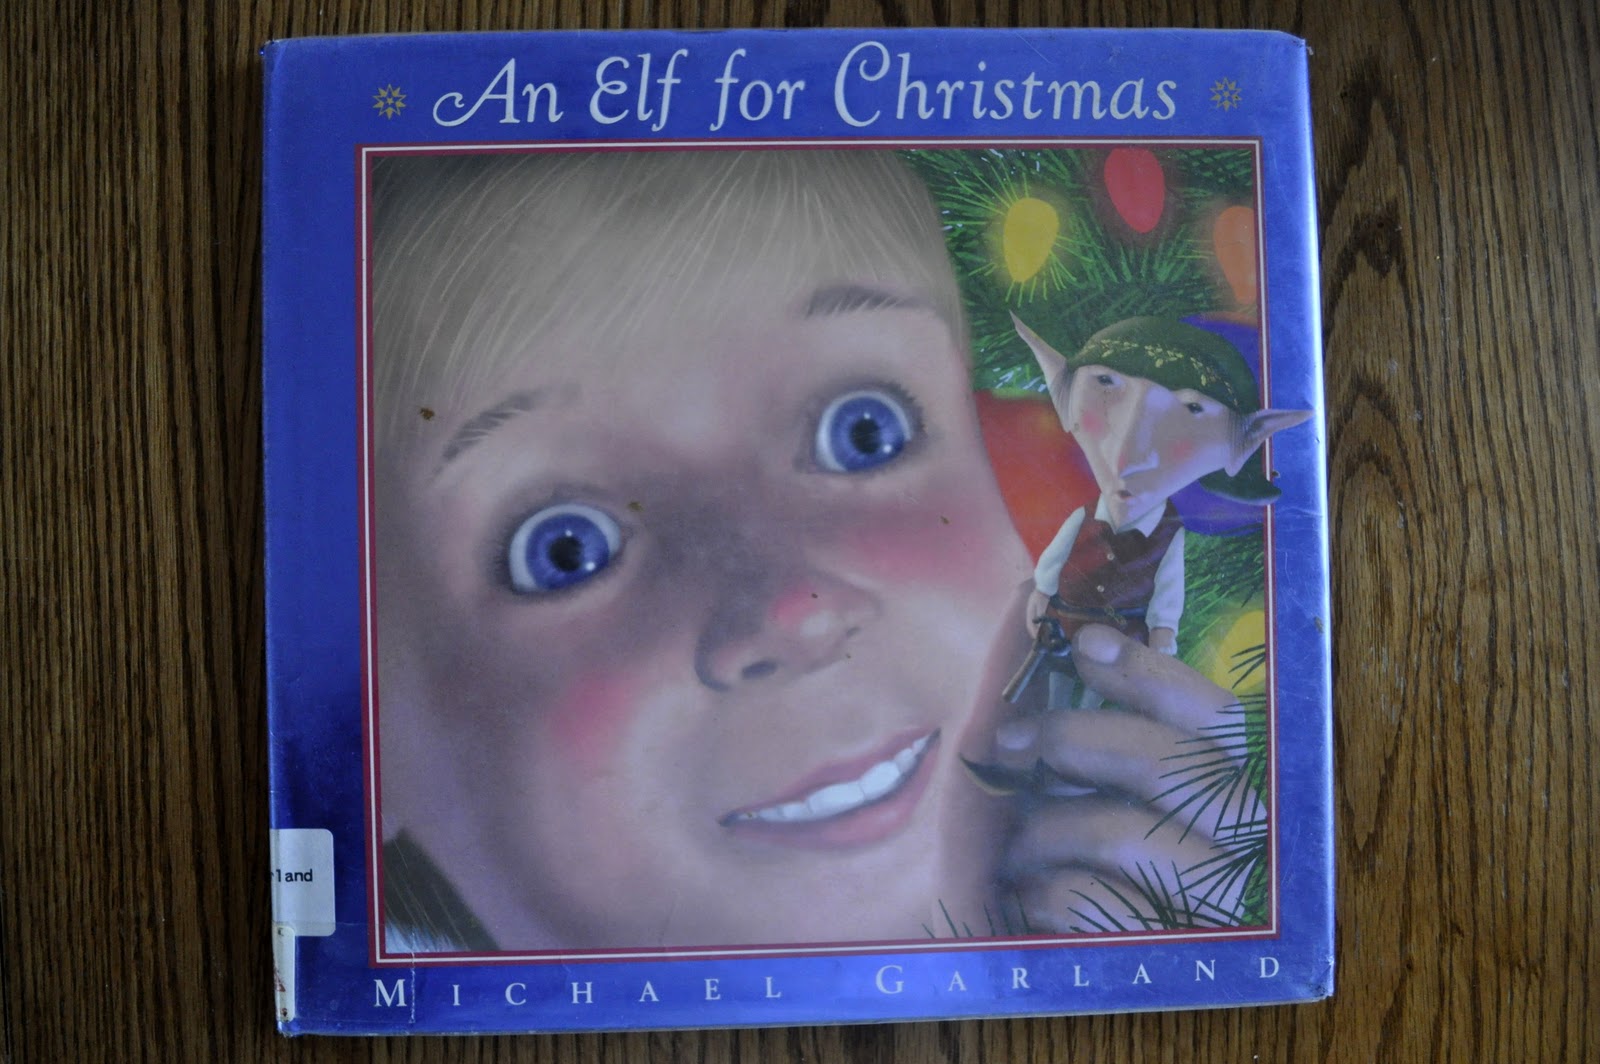
It's about an Elf who has worked so hard on finishing up making toy airplanes on Christmas Eve that he accidentally falls asleep in one of the planes and gets wrapped up and sent out for Christmas. When he wakes up he is surprised to find that he is now a little boys new toy for Christmas. He ends up using the toy airplane to get home and sends the little boy a replacement. It's a little lengthy so more appropriate for age 4-7, but it's a good read.
We also read Elton the Elf by Lisa Mullen. The story is about an elf named Elton who is lost. He ends up wandering through every holiday until he gets back to Christmas and finds his home. It's super fun for the kids to remember the holidays throughout the year in the correct order.

And then we got to making our fun elves!

To make our elf, we used a white lunch sack as his body. You can buy a package of them for under $2 at Walmart. We painted the front of the lunch sack with a red brick pattern.

I simply cut up a rectangle piece of a large sponge and attached it to a clothespin to paint with. You can see one of my boys pictured above dabbing on his pattern.

This is what it looked like all painted.

While the paint was drying, I printed off my elf pieces pattern on red card stock paper. I made my own pattern for the pieces and you can download it from Google Docs by clicking on the picture below.

Since I didn't want the face to be red, I used it as a template to trace it onto a tan/peachy colored paper and cut it out again. After you cut out your template pieces, you will also need to cut out a couple more pieces: two 1" x 6" white pieces for the arms, two 1" x 11.5" white pieces for the legs (I just used the entire length of a sheet of construction paper), one 1/2" x 6" black piece for the belt, and a 1/2" x 1" yellow piece for the belt buckle. You can see all my pieces pictured below.

Assemble the pieces together by gluing the feet onto the long white pieces, the mittens onto the smaller white pieces, the yellow belt buckle onto the black belt, and the hat onto the head. Make sure you tilt the hat on the head a little so one of the pointed ears is still visible. At this point the boys also drew their elf face on their head and added some hair with markers.

Next glue all the pieces on to your elf body. The feet go on the bottom of the sack, the arms on the inside flap of the bag and the belt on the front. You can see in the picture below how I added a bow tie for my belt buckle since I was making a girl. I don't think it's necessary but I thought it was a fun little detail. I also reinforced by arms and legs with a piece of tape just to make them extra sturdy since I know what my boys are capable of. (hahaha!)

Once the pieces were glued on the bag (minus the head) we opened up the bag and stuffed it with a plastic grocery sack to make it nice and plump.
Before gluing the head onto the paper bag, fold down the top edges of the bag forming a triangle and staple it shut. Then just glue your head on the front of the white sack.

We added a couple more details to our elves after the head was glued on. We glued a small ball of cotton to the end of the hat. We also added lines in the hat and outlined them in red glitter glue.

You can also use red glitter glue to add some interest to the feet and mittens...


Or add more cotton to the feet...

I just love these little guys! They are sitting up on a shelf with their legs hanging down and I just feel so giddy when I walk by and see their legs dangling. So much fun I tell ya!! :)

Happy Crafting!!
I like to link my posts up to THESE fun link parties.


This post was written by: Franklin Manuel
Franklin Manuel is a professional blogger, web designer and front end web developer. Follow him on Twitter
Subscribe to:
Post Comments (Atom)

0 Responses to “The Cutest Elf Craft you ever did see....”
Post a Comment