Saturday, September 17, 2011
Life Cycle of a Chicken
Do you like this story?
To start off our learning about Birds, Luke and I made a "Life Cycle of a Chicken" poster the other day. I saw the idea in The Mailbox Magazine a while back.

We started by reading some fun books about Birds. First, a DK Eye Wonder book called "Birds". I just found the Non-Fiction area in the library about Birds and grabbed a couple books that looked good.

"Five Little Chicks" by Nancy Tafuri. This is a short book, perfect just to show that the chicks hatch from eggs and what kinds of things they eat.

"The Perfect Nest" by Catherine Friend. Both my boys loved this story! It is super silly. I highly recommend it.

Then we set out to make our Life Cycle Poster. I started by cutting an egg shape out of a piece of poster board. Then I printed out a little rectangle label from the computer that said, "Life Cycle of a Chicken" and we glued it to the center.
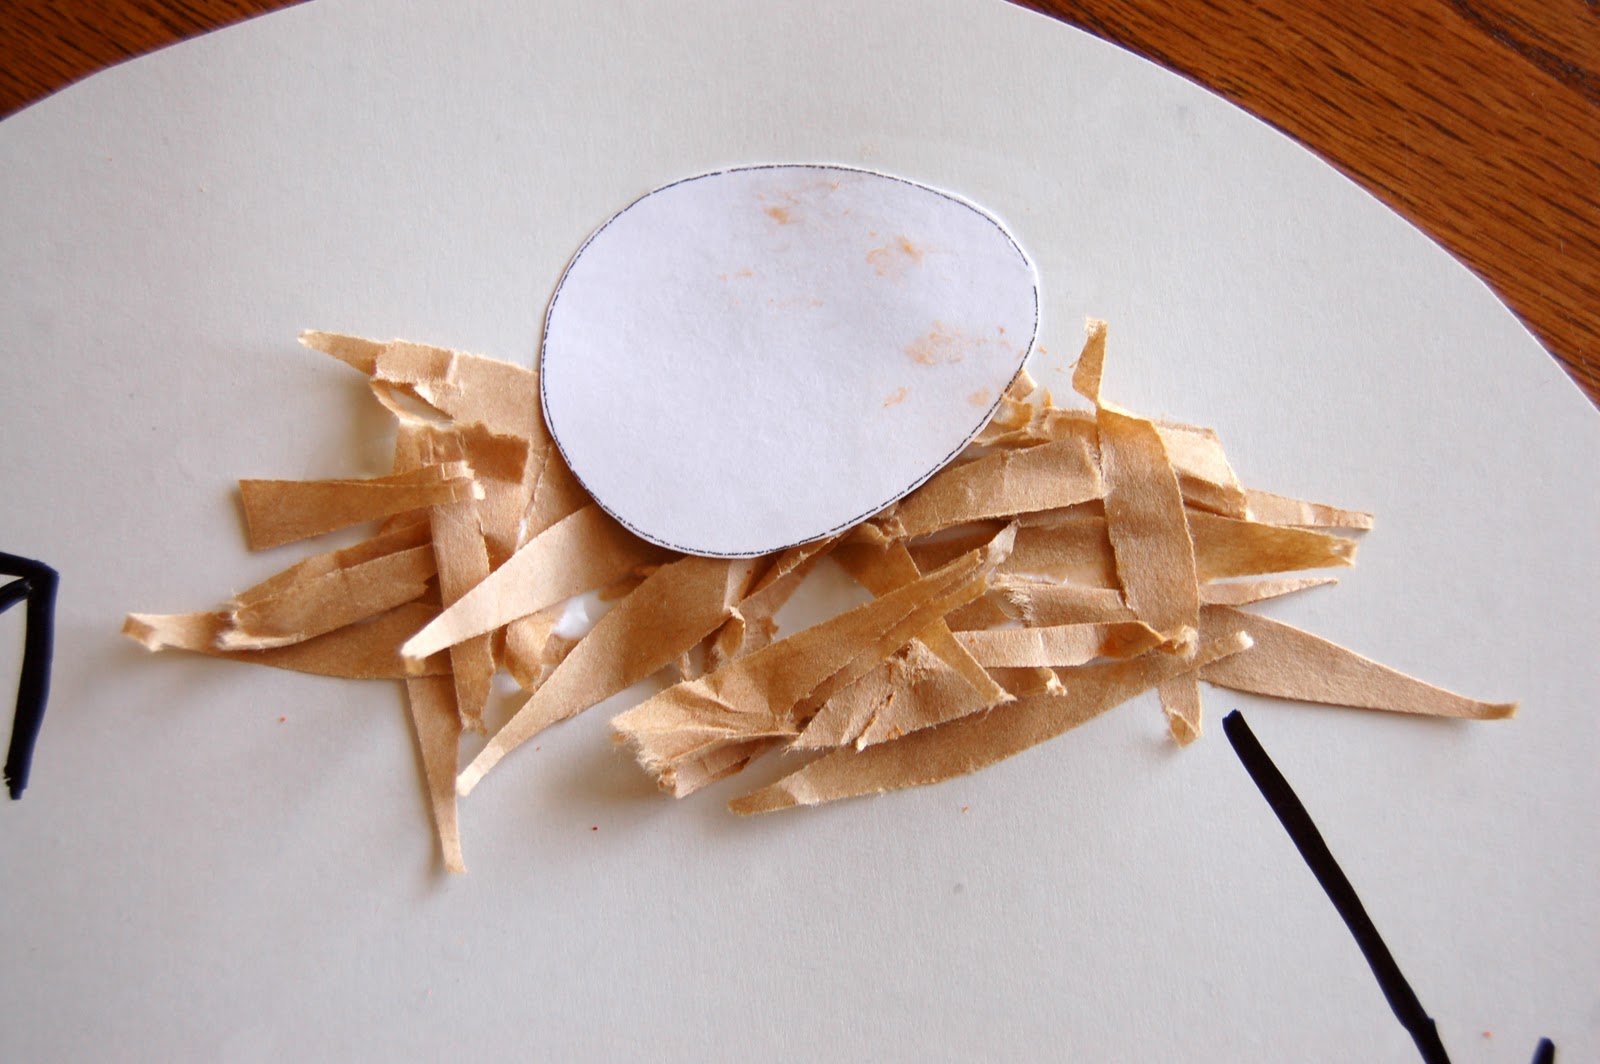
At the top of the egg we talked about how chickens start out as an egg. Then Luke made a little nest by putting glue all over and adding shredded pieces of a lunch sack.


After the nest was complete, I cut out a small oval shape out of paper and Luke glued it into the nest. Luke had just had chips with his lunch and he left some fresh fingerprints on the egg. haha!
Then we discussed how the Mommy Chicken lays on her eggs to keep them the right temperature, while the birds grow inside the egg. Then when they are all grown they begin to hatch out of the egg.
I cut out a larger egg out of paper and Luke glued it to the poster board. Then he drew a jagged edge circle on the egg to represent the egg hatching. Luke colored the inside yellow and we added googly eyes to represent the chick inside.

To keep it simple, I also used another oval egg shape to make our baby chick. Luke colored it yellow and glued it on the poster board. Then he added the googly eyes, and a small orange diamond, folded in half for the beak. Luke colored on the feet with a marker and I added the wings with a black marker.

Next, we made the grown chicken. I mentioned in an earlier post that I got an amazing Rainy Day Package from CraftProjectIdeas.com for free. In the package came a 6-pk set of tempera paint. To make the grown chicken we used the red paint out of that package.

The best part of tempera paint is that it washes off so easily. I usually purchase acrylic paints but in this case we used a handprint for our grown chicken so using the washable tempera paint worked perfectly! I will definitely stock up on these paints for future use.
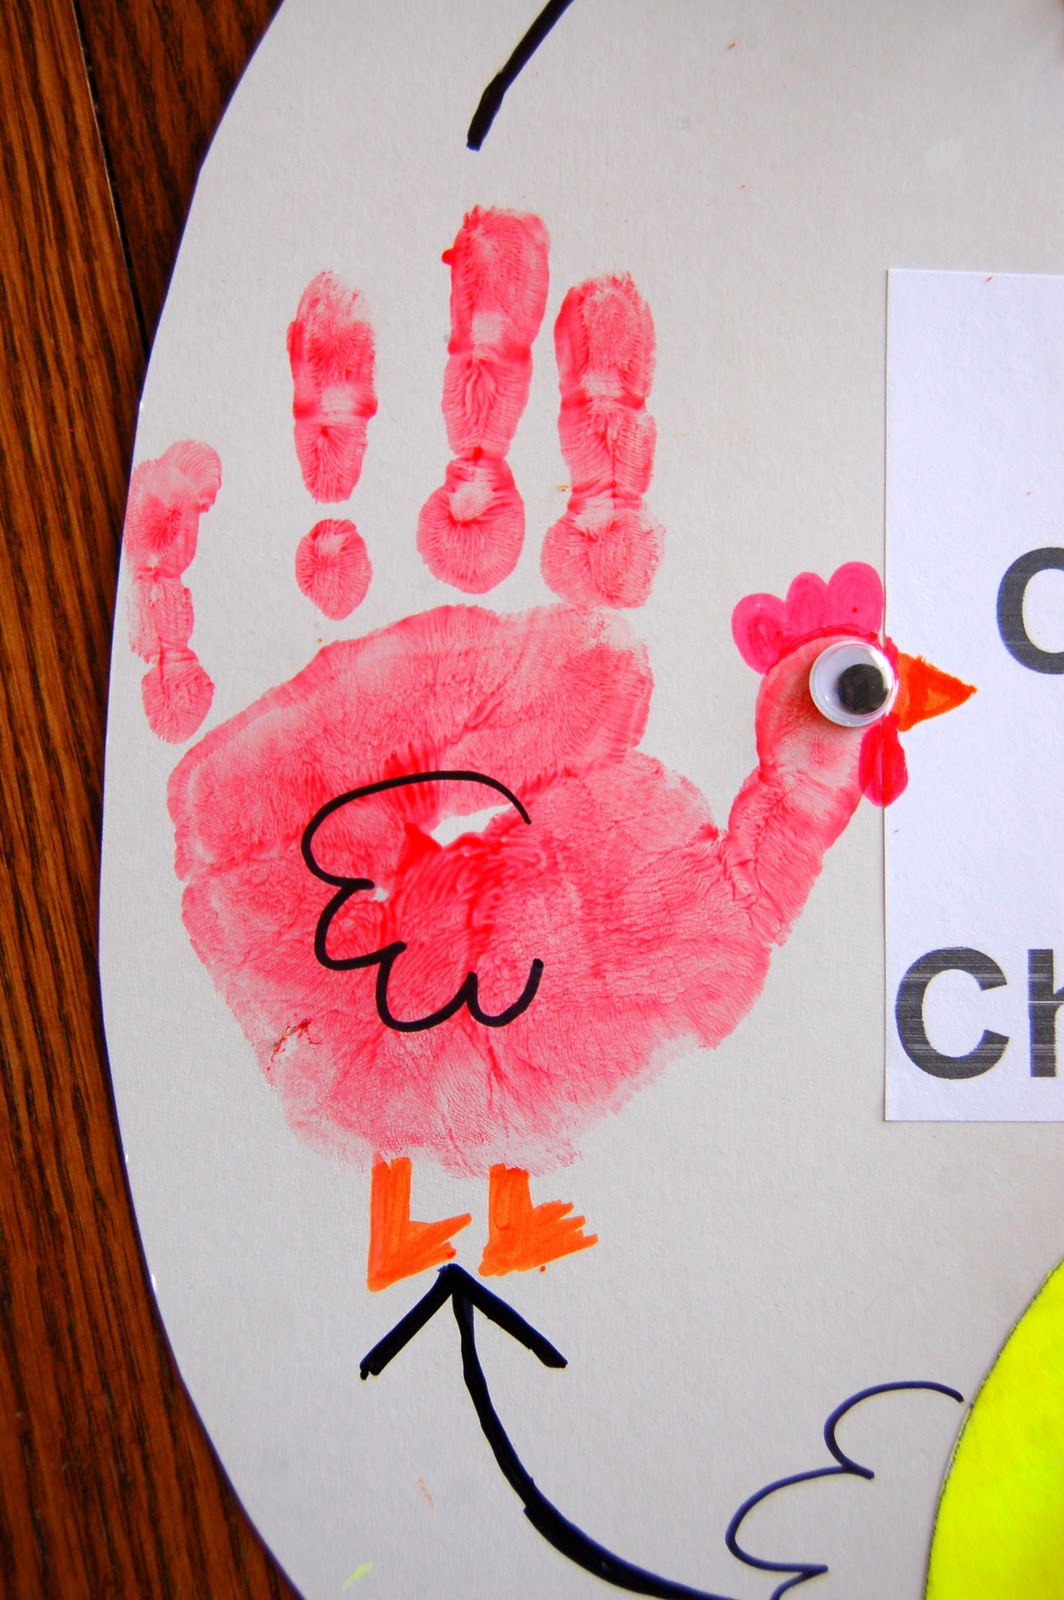
After Luke put his handprint on the poster board, we let it dry completely. Then Luke colored on feet and glued a wiggly eye on. I added the finishing touches with markers.
To complete our chart, I simply drew arrows between each stage to show that it is an endless cycle and we talked about each stage one more time. Such a fun project!

Happy Crafting!!
Linking up to these Awesome Parties!


This post was written by: Franklin Manuel
Franklin Manuel is a professional blogger, web designer and front end web developer. Follow him on Twitter
Subscribe to:
Post Comments (Atom)

0 Responses to “Life Cycle of a Chicken”
Post a Comment