Tuesday, June 14, 2011
Story Time Tuesday w/ Paper Plate Pirate Craft
Do you like this story?
This week we read the story "This Little Pirate" by Philemon Sturges. It is a cute story that plays off of the classic "This Little Piggy" rhyme, but told in a pirate-inspired way.

Here is a little glimpse of the lyrics so you understand what I mean: "This little pirate spied the island. This little pirate saw the rocks. This little pirate dropped the anchor, and this little pirate found the box.

It was a cute story, but not one that I feel is worth buying or reading every single night. I do recommend checking it out at your local library though, especially to give you an excuse to embark on the craft at the bottom.


The best part of this story was afterwards when the kids were getting in bed, we had fun playing "This Little Piggy" on their cute little toes. We have always loved that silly game, and I always let my kids take a turn to decide where they want each of their little piggies to go. Last night most of Luke's little piggy's went to McDonald's, it was quite fun entertainment for me.

Like I said before, the best part of this week was getting to make our fun paper plate pirates.
Materials you will need:
-2 paper plates (one is just for tracing)
-skin tone color paint
-paint brush
-12" x 12" square of pirate-inspired fabric
-hot glue gun
-black sheet of construction paper
-one large wiggly eye
-black marker
-hole punch
-metal binder ring
 |
| Yet again not everything is pictured above that you will need. Some day I will get it right!! haha |
Directions:
1. Paint your paper plate with the skin tone color paint.

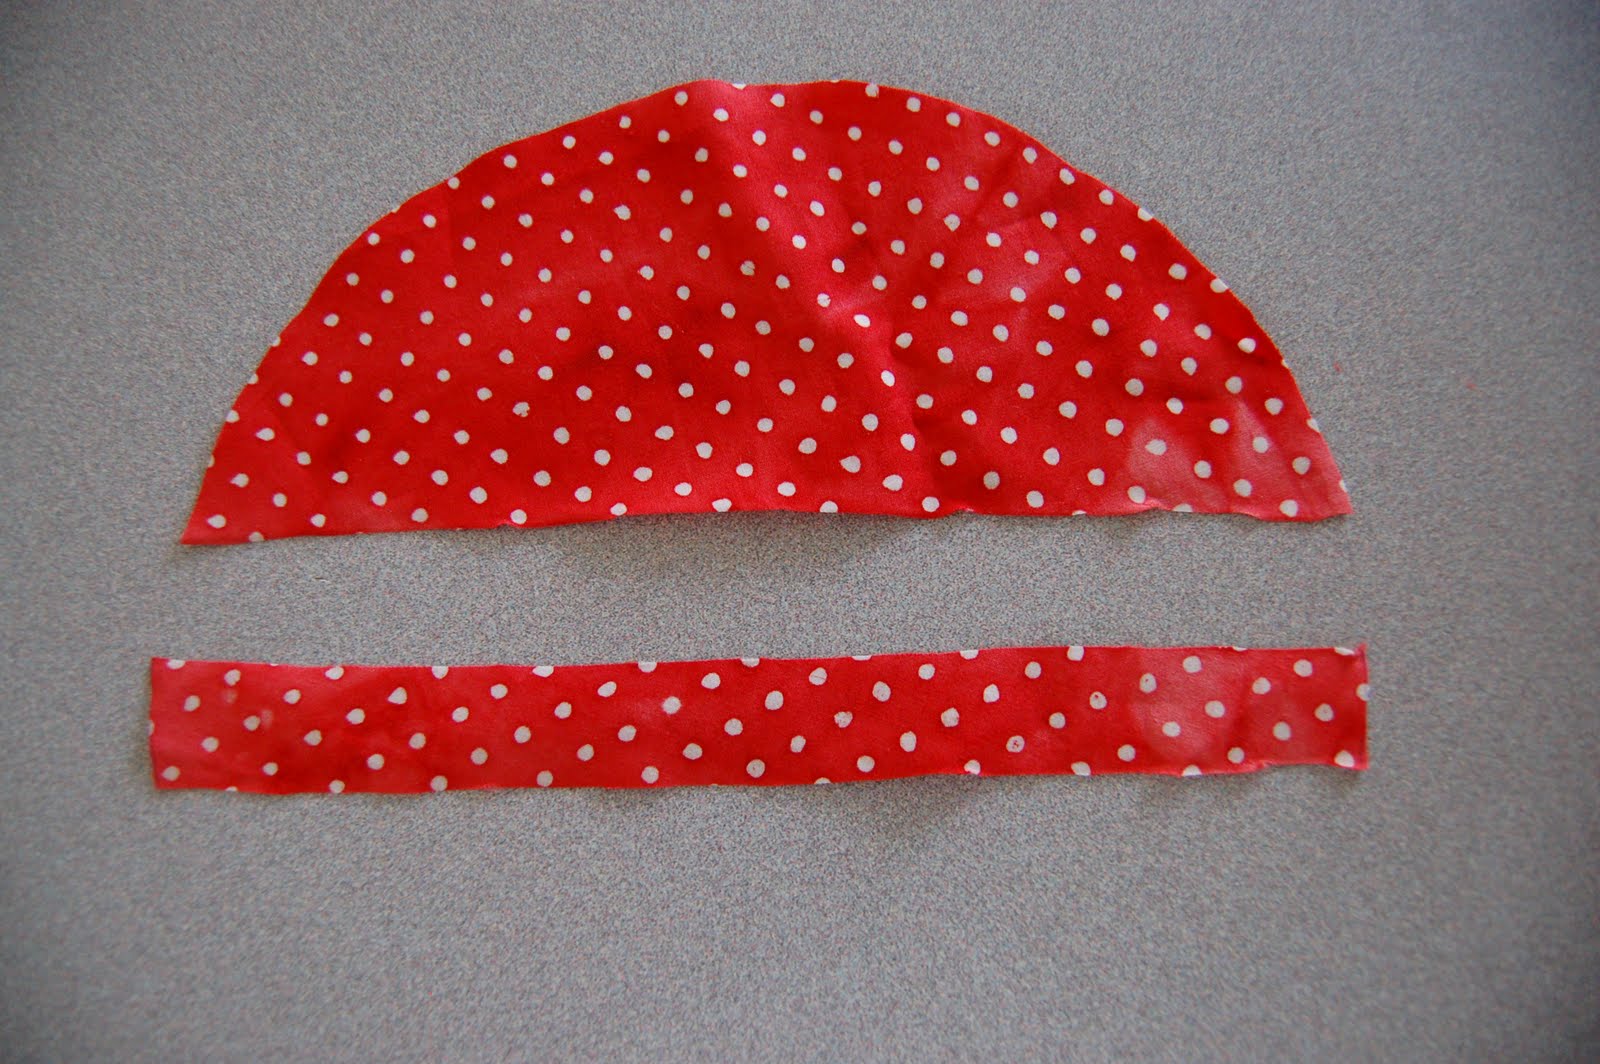
2. While your child is painting the paper plate, take another paper plate and trace it onto your fabric square, then cut it out.

3. Cut that circle in half. Then, fold your half circle up at the bottom about 3/4", and cut that strip off.

You should be left with this.
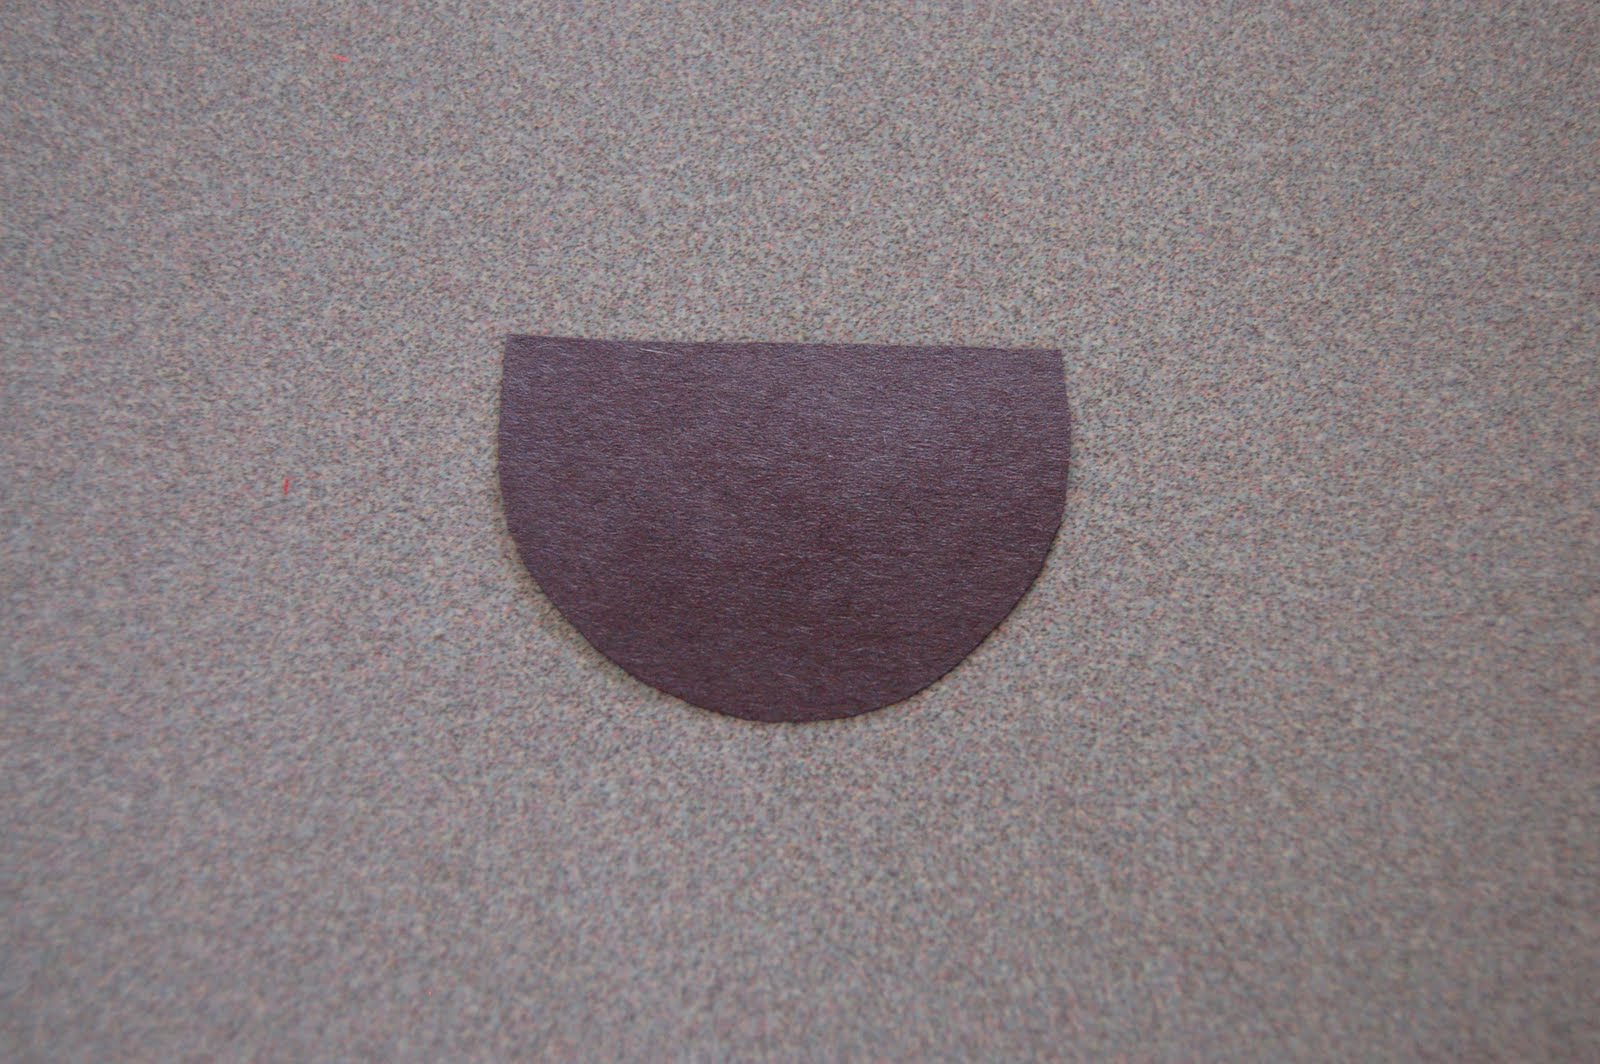
4. Trace a circle onto your black construction paper and cut it out. My camera lens was the perfect size so I used that (so handy, I know).

5. Once your circle is cut out, fold it over a little bit and cut that section off. We are making a pirate patch so you can choose how much you want cut off.

It should look like this when you are finished.
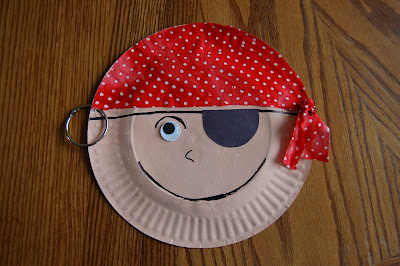
6. Once the paint on the paper plate is completely dry, you can begin assembling your pirate. Use your hot glue gun to glue the large fabric piece to your paper plate, lining it up with the edges. This forms the pirate's bandanna.

7. Glue on the wiggly eye and the black eye patch.

8. Use the black marker to draw a thick line all the way across the paper plate, joining up with the eye patch. This completes the eye patch. Then use the bottom circle of the plate as a guide to draw a mouth with the black marker. You can have your child do this part, just be careful that they understand there is no second chances with the black marker.

9. Punch holes in each side of the paper plate.

I punched two holes that joined together on the side that I wanted to use the fabric. I thought I would need a little extra room to pull the fabric through.

10. On one side put your binder ring through and snap it closed to make the pirate's earring.

11. On the other side, take that leftover piece of fabric, pull it through the hole, and tie a knot in it to finish your bandanna.
At this point Luke had fun pretending he was a pirate and saying "Argh!....."

11. You can leave your pirate how it is, or you can have your child personalize it however they choose. Andy drew a cool eyebrow and cute little nose on his. I really loved his finishing touches.
Next week we are going to have some more Piggy Fun and I even have a clever little piggy treat coming your way....I hope you join me!!
Happy Crafting!!
I'm Linking up Here this week:


This post was written by: Franklin Manuel
Franklin Manuel is a professional blogger, web designer and front end web developer. Follow him on Twitter
Subscribe to:
Post Comments (Atom)

0 Responses to “Story Time Tuesday w/ Paper Plate Pirate Craft”
Post a Comment